最近因为电脑里垃圾文件太多,决定给笔记本电脑重置一下,重置之前忘了备份 iTerm2 的配置文件,导致打开系统自带终端机才傻了眼,这次写一下,以后就算忘记备份,也能通过这个文章快速的找回来。
如你所见,正常情况下的 iTerm2 应该是这样子的:


下载、安装
iTerm2 的下载很简单,可以从官网下载,也可以从 brew 下载,如果使用 brew 下载,则是:
bash
此处简单带过即可。
更换 ohmyzsh
要想实现诸如「自动补全」、「语法高亮」等功能,需要更换 macOS 默认的 zsh 为 OhMyZsh,使用:
 bash
bash安装完成后会自动切换到 OhMyZsh
安装字体
如果要使用命令行内的图标字体(如 Git、docker)之类的,需要安装命令行字体,字体可以使用 PowerFonts 安装,也可以直接下载你喜欢的带 Powerline 的字体进行安装,如果使用 PowerFonts,安装方式为:
bash
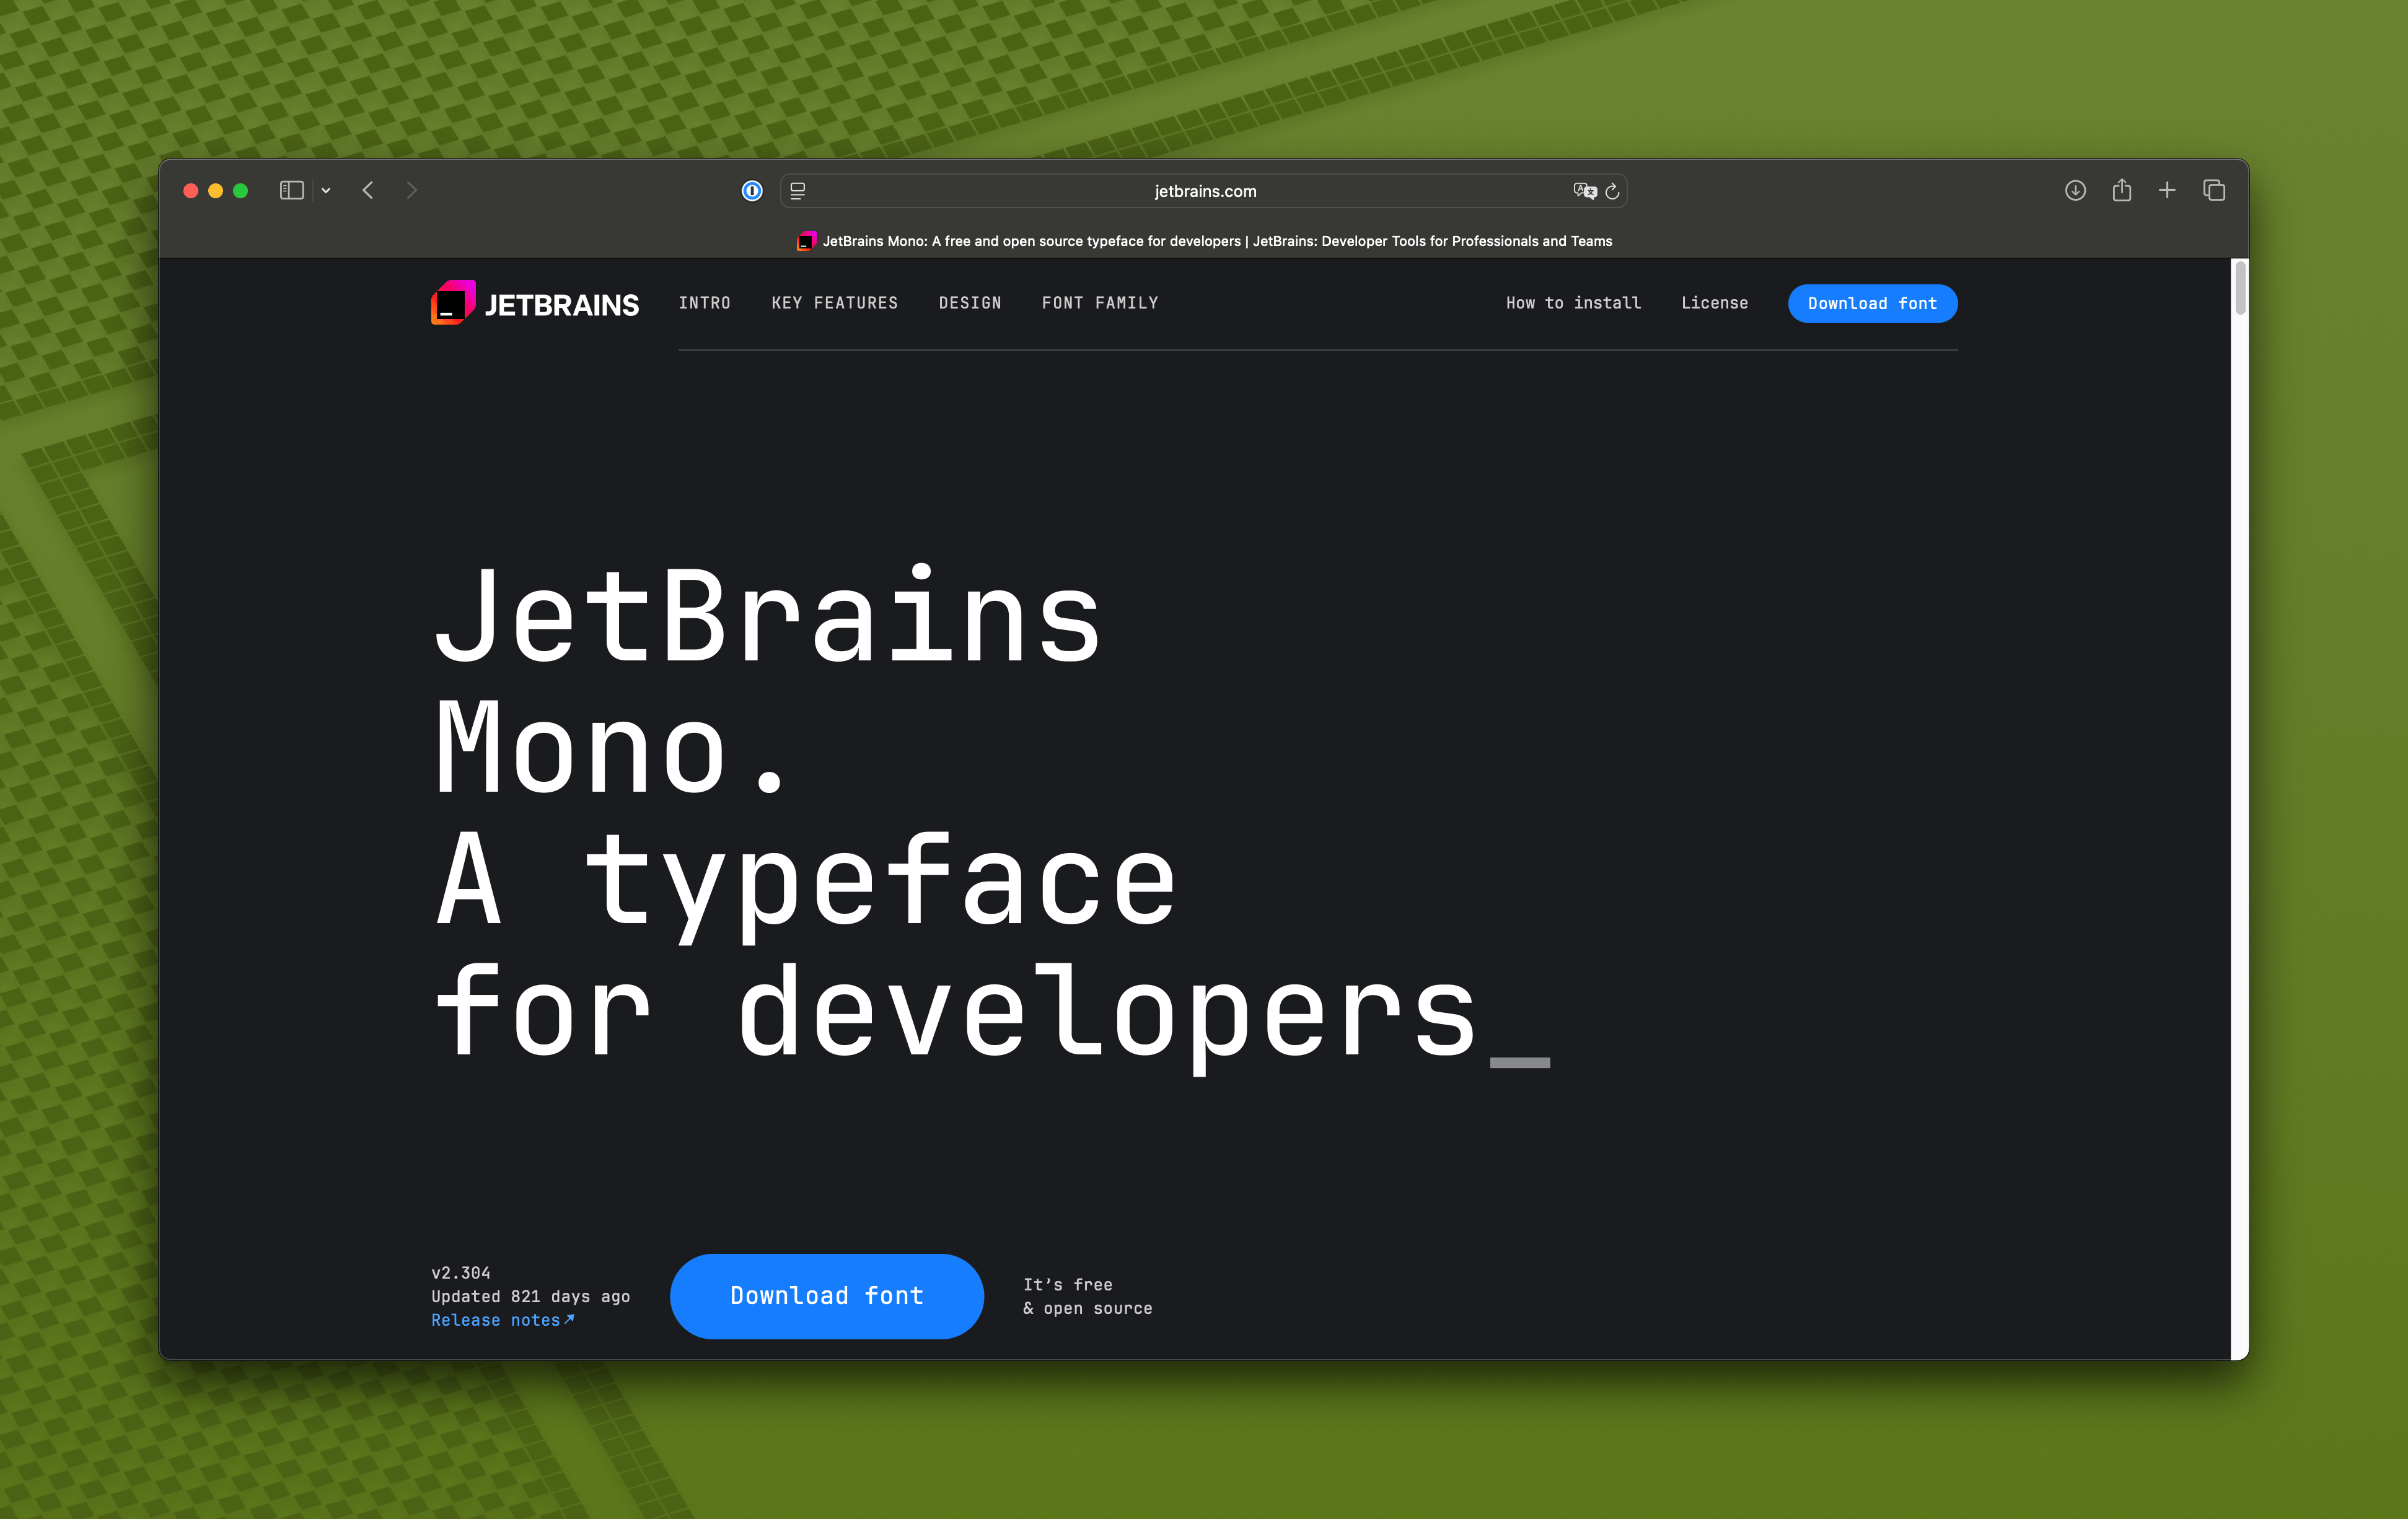
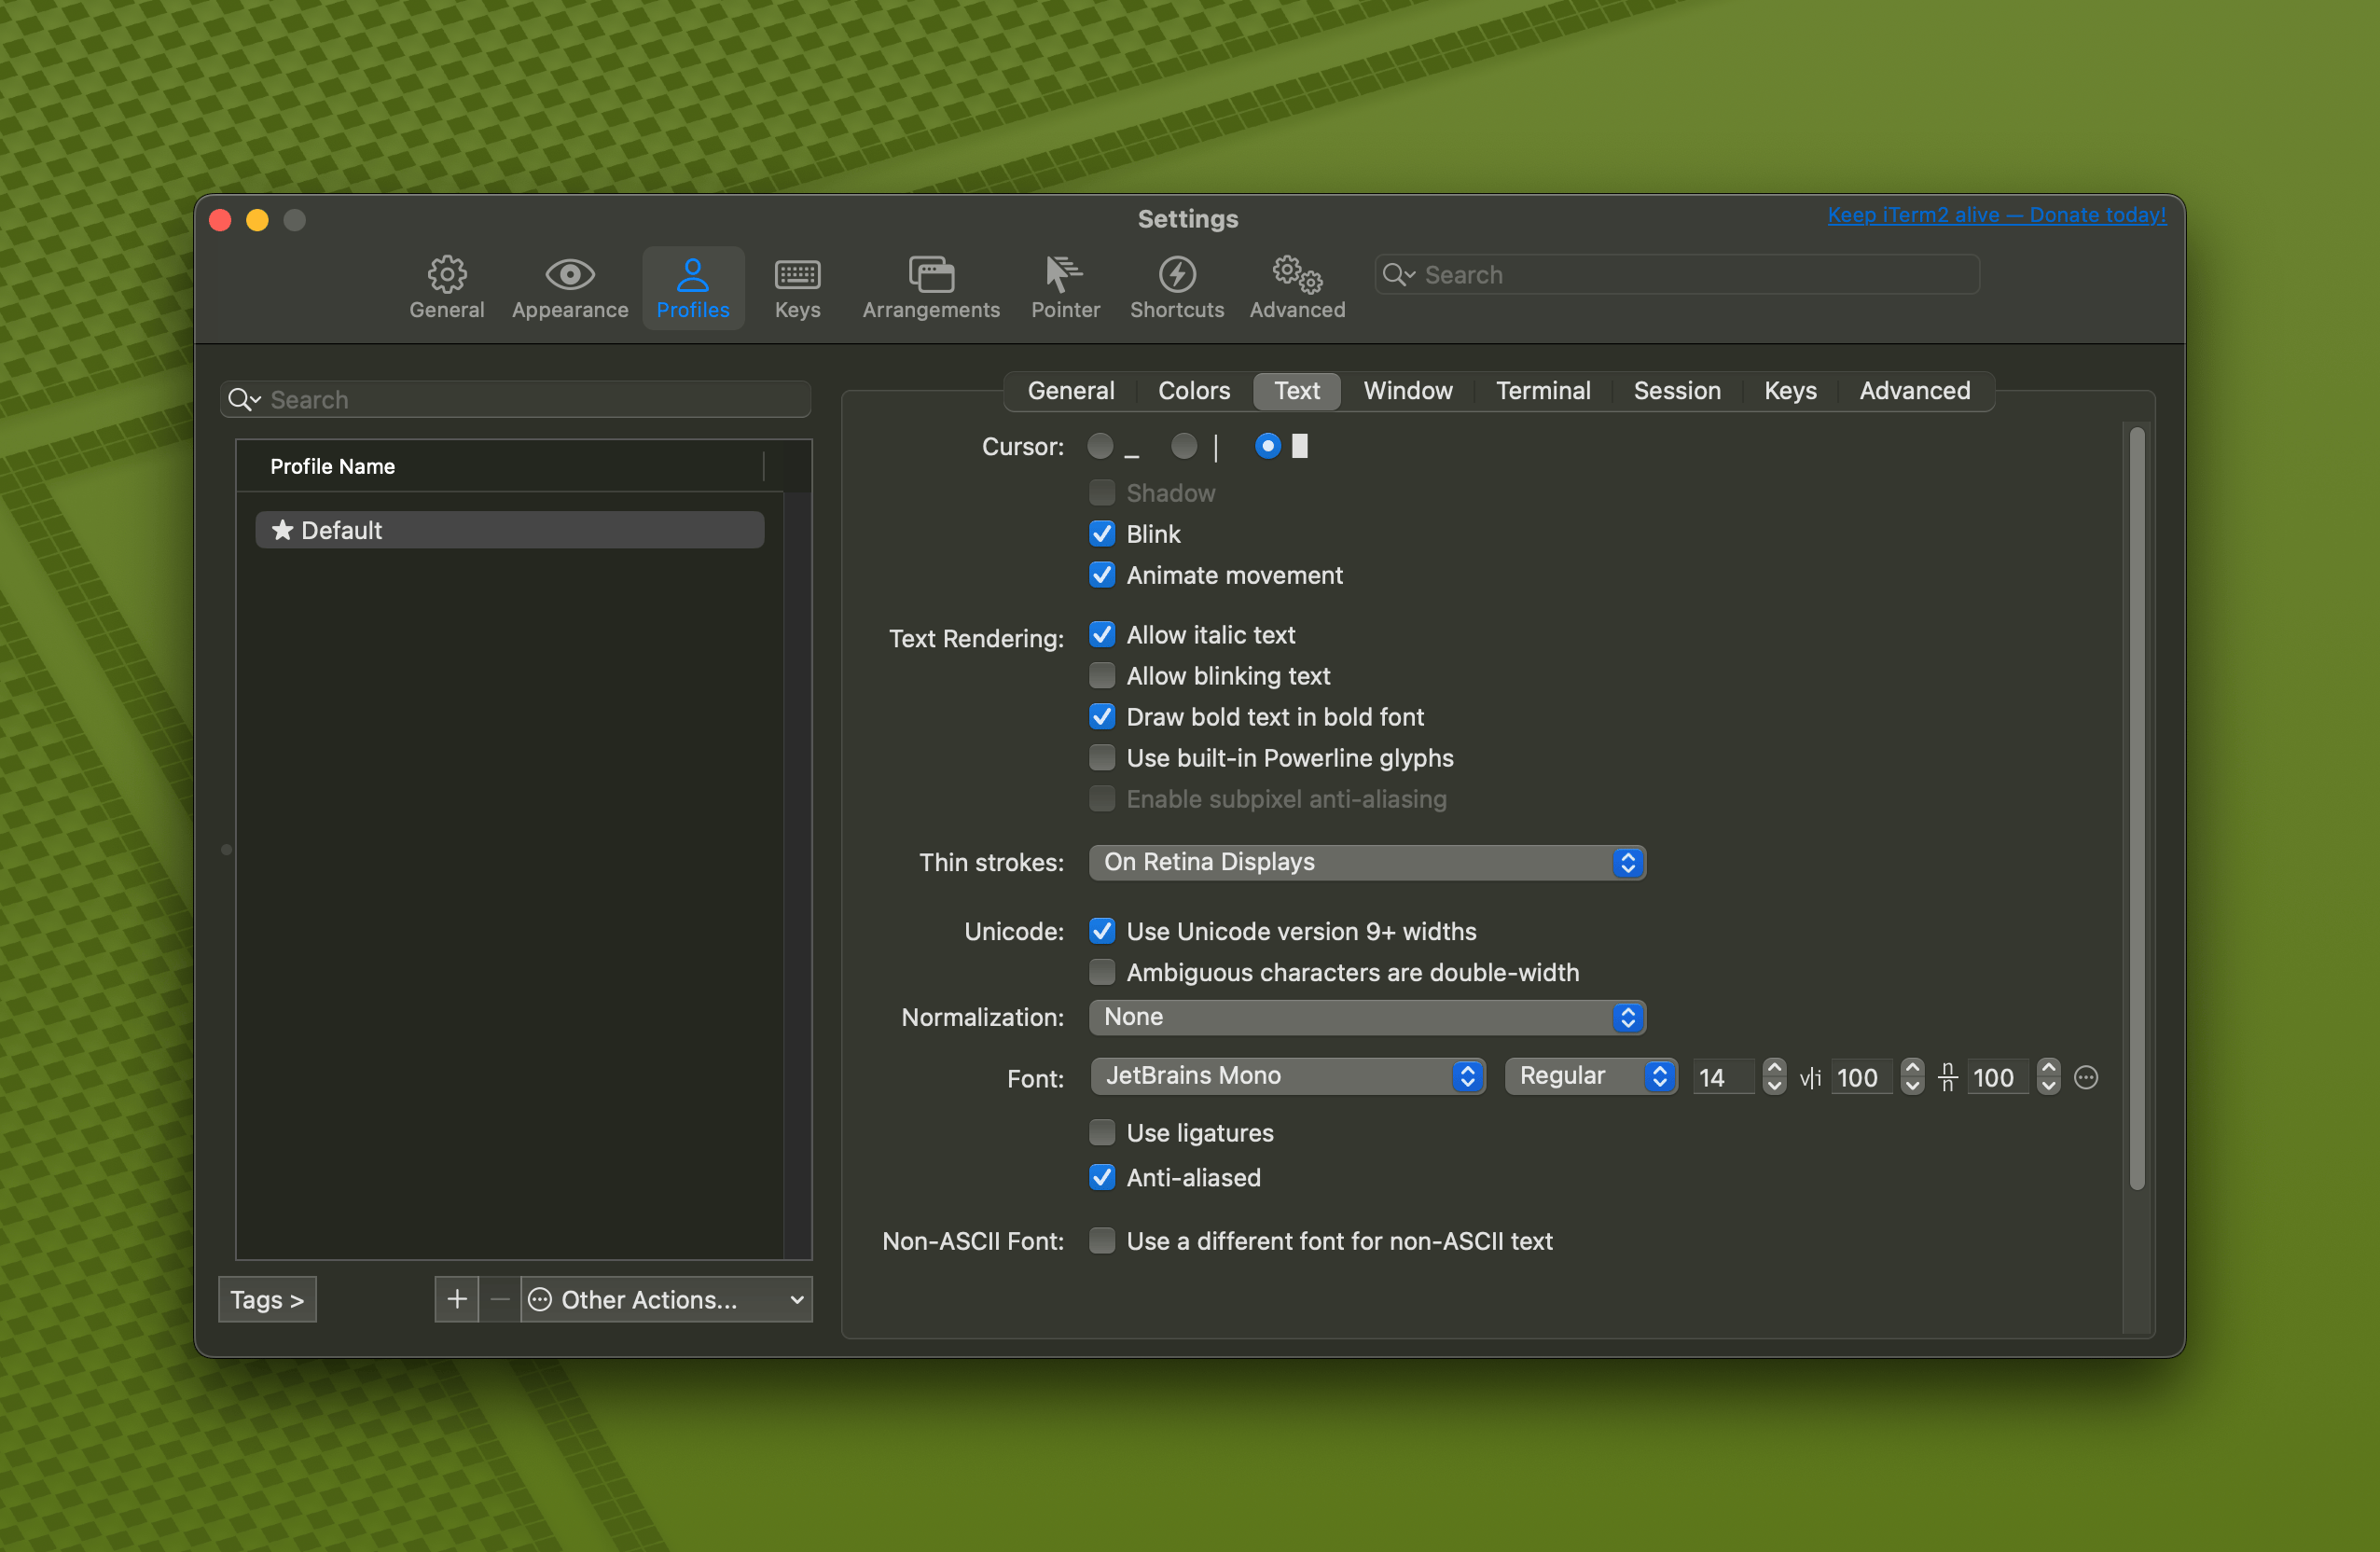
把下载的字体文件放在任意文件夹即可,install.sh 会帮助你直接安装到系统中,如果你不喜欢其中自带的字体,或者你有更喜欢的(比如我),就可以下载单独的字体文件安装,然后再选择,我使用的是 JetBrains 的 JetBrain Mono

下载安装字体之后在 Profiles -> Text-> Font 中选择字体文件就可以了

更换主题、配色
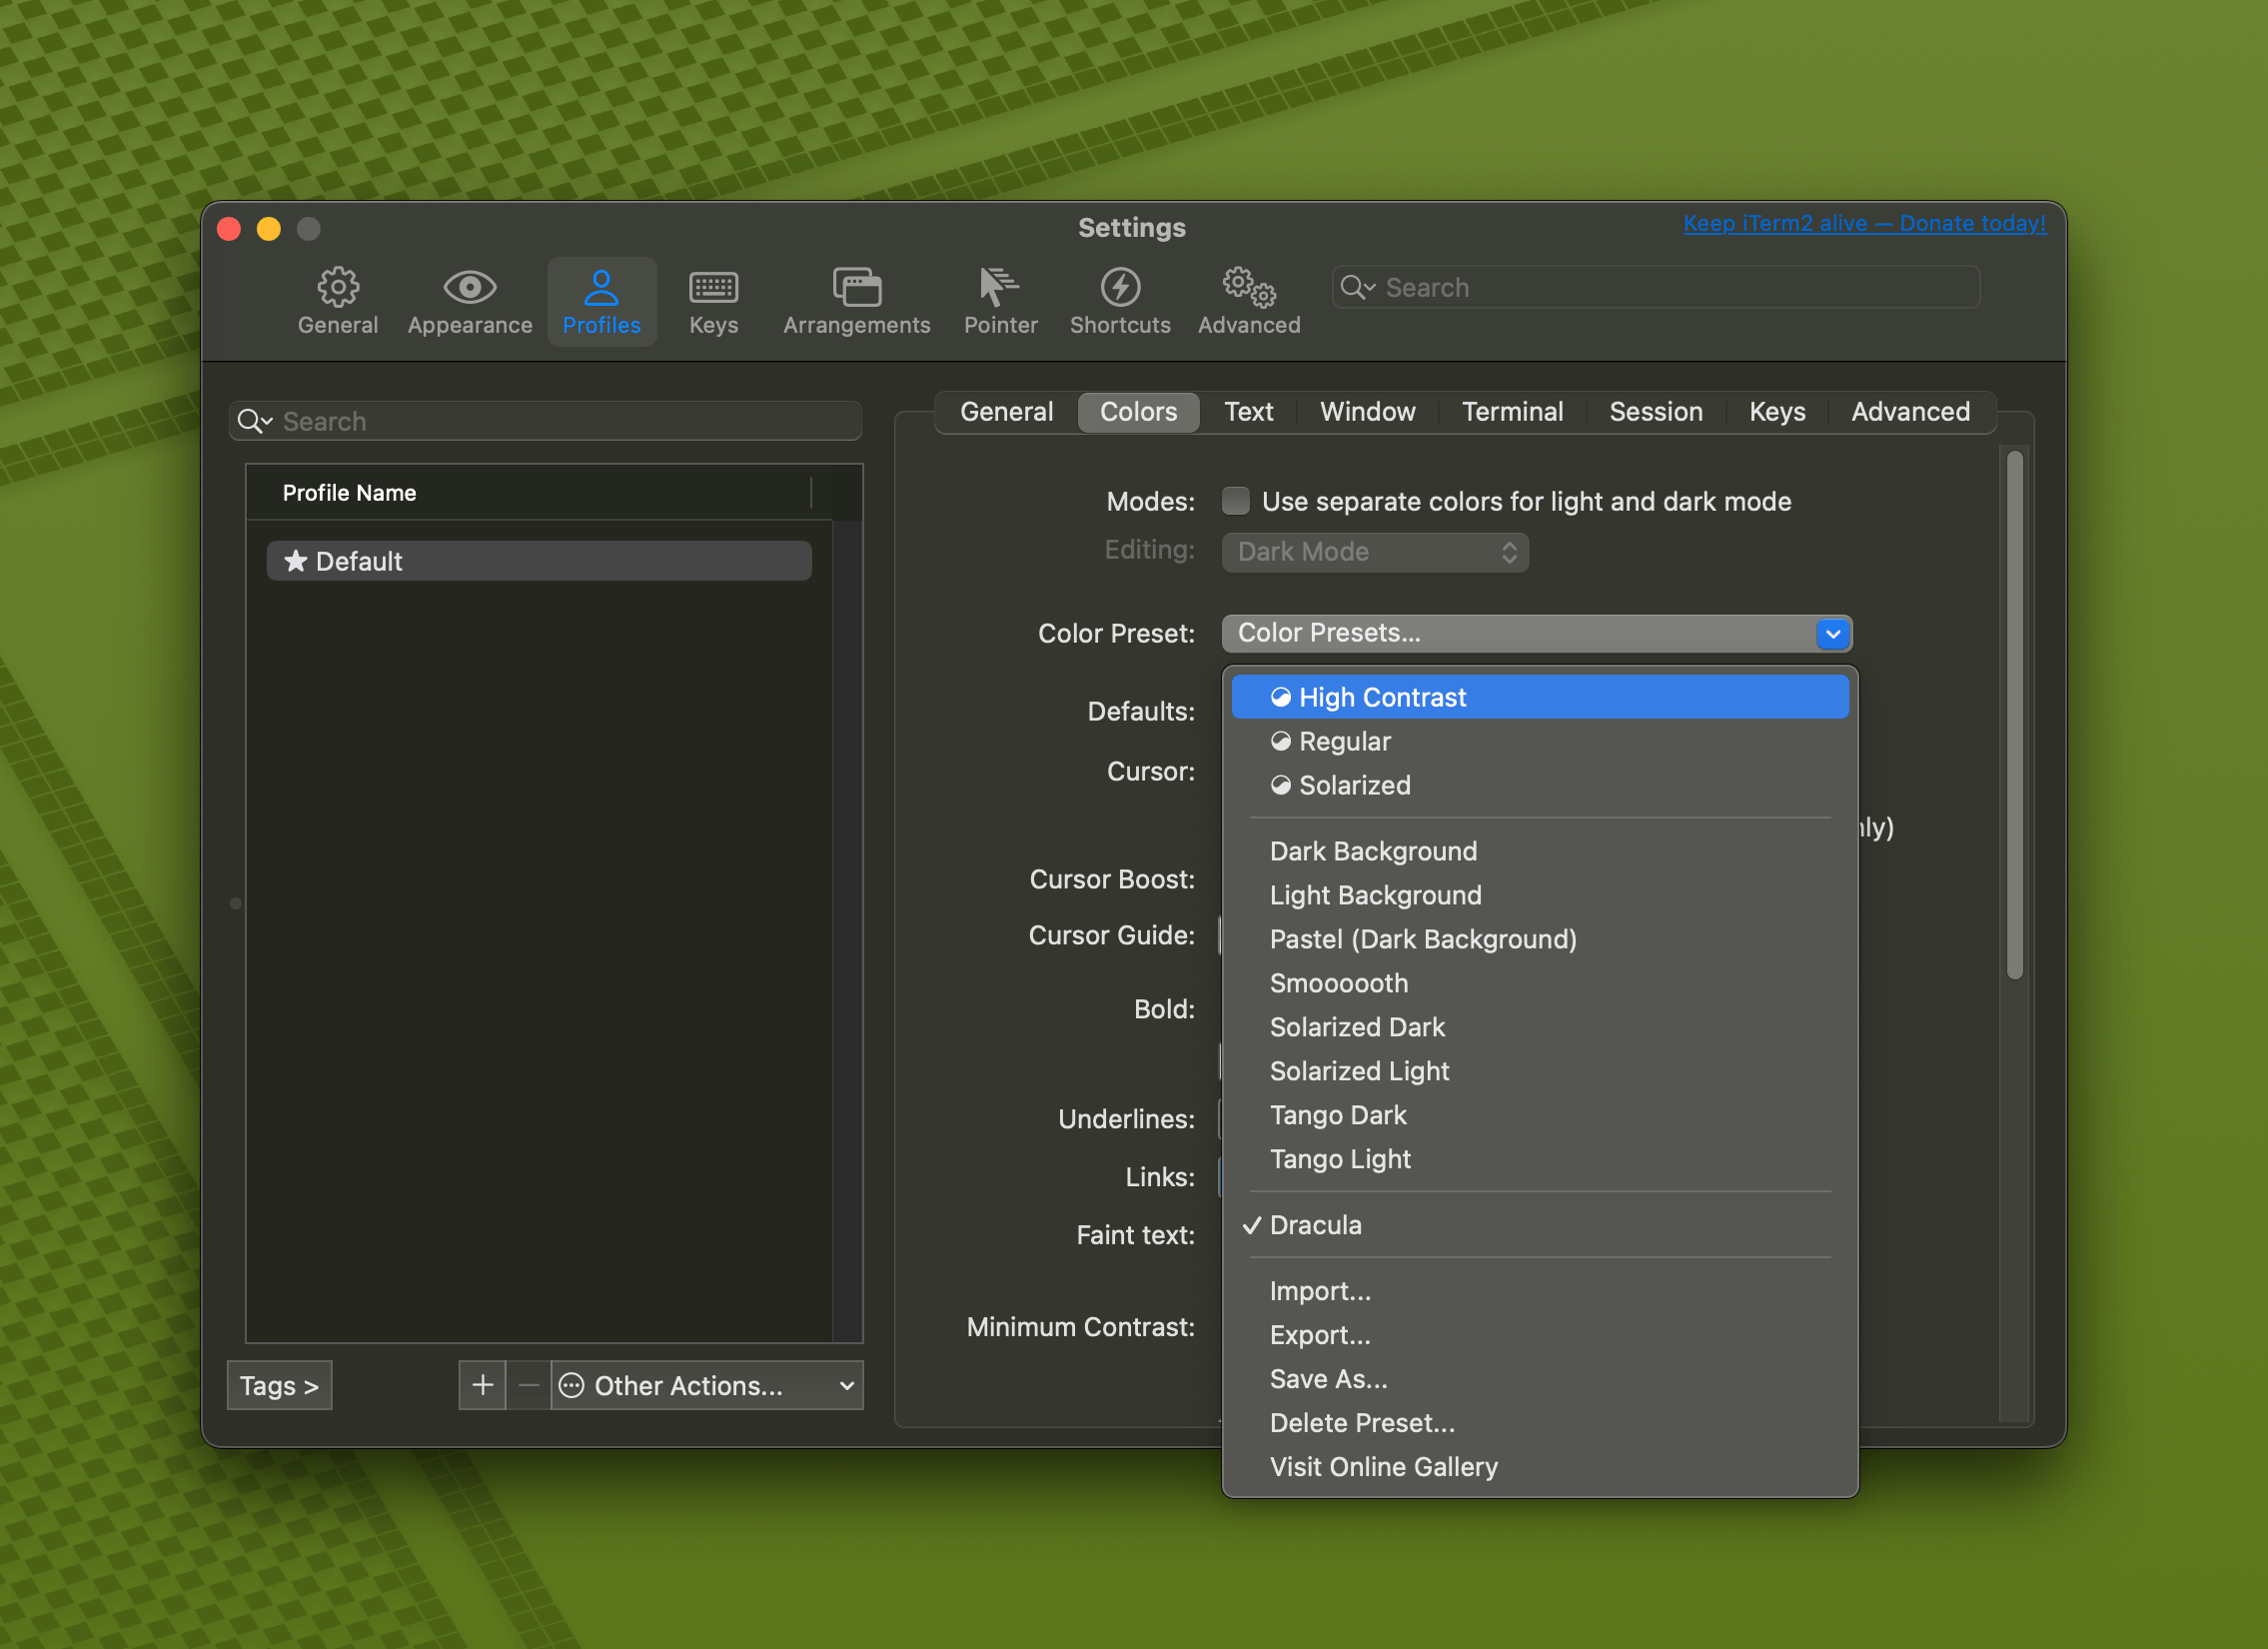
我会选择我经常使用的 Dracula Pro 主题


在 draculatheme.com 下载后进入 iTerm2 -> Preferences -> Profiles -> Colors -> Color Presets 中根据个人喜好选择配色即可

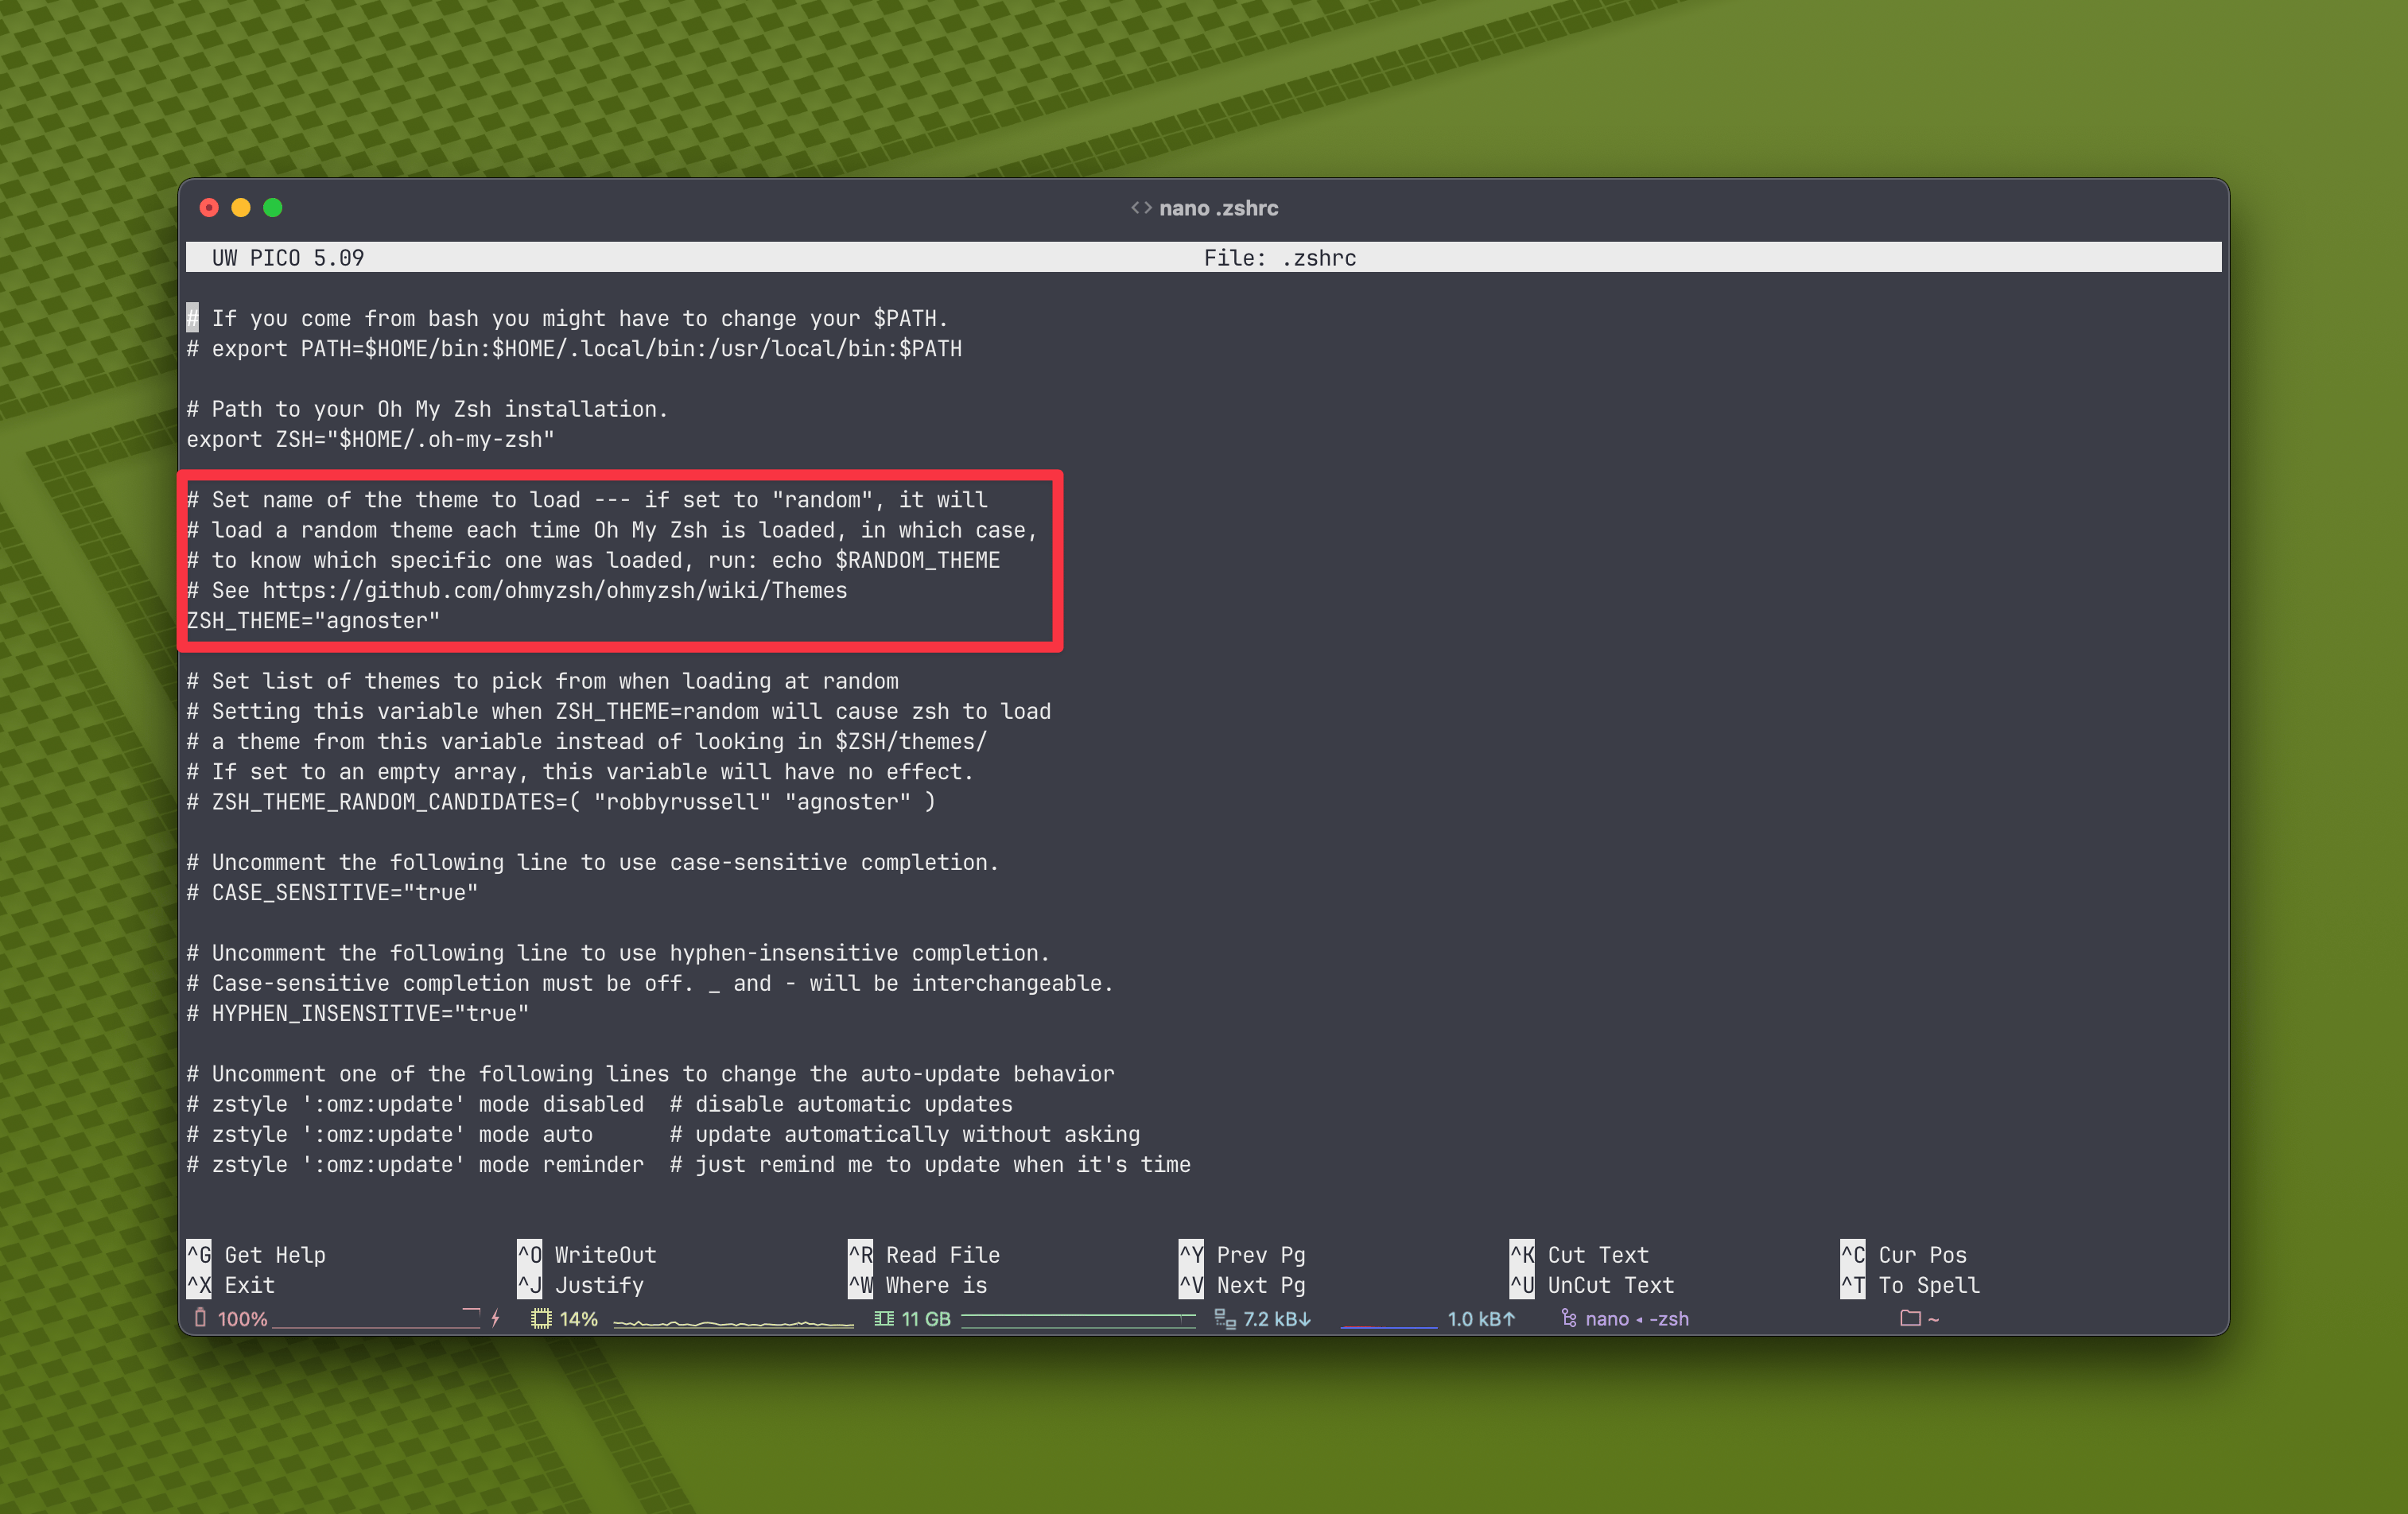
主题的更换直接修改 ./zshrc 文件即可,将你喜欢的主题填入 ZSH_THEME 后保存,随后执行
source ~/.zshrc 即可生效

界面调整
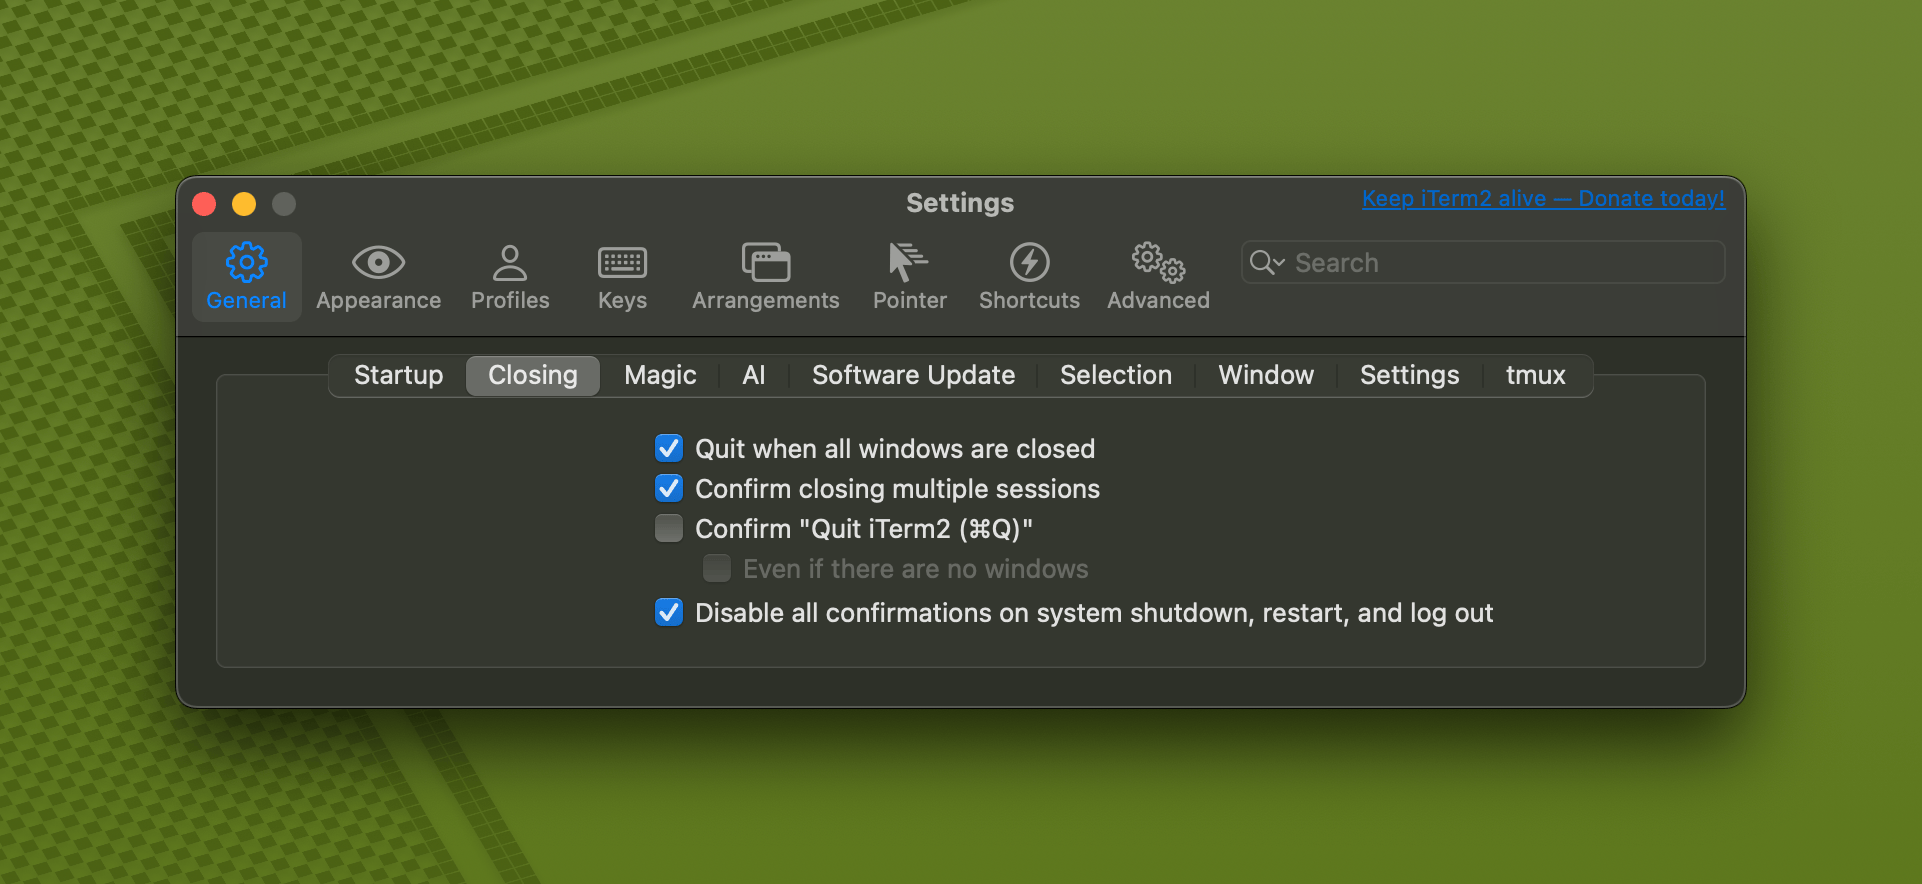
我习惯直接使用 command+Q 快捷键直接退出应用,所以我在 General -> Closing 中取消勾选了 “Confirm ‘Quit iTerm2’” 选项,这样退出应用时就无须确认

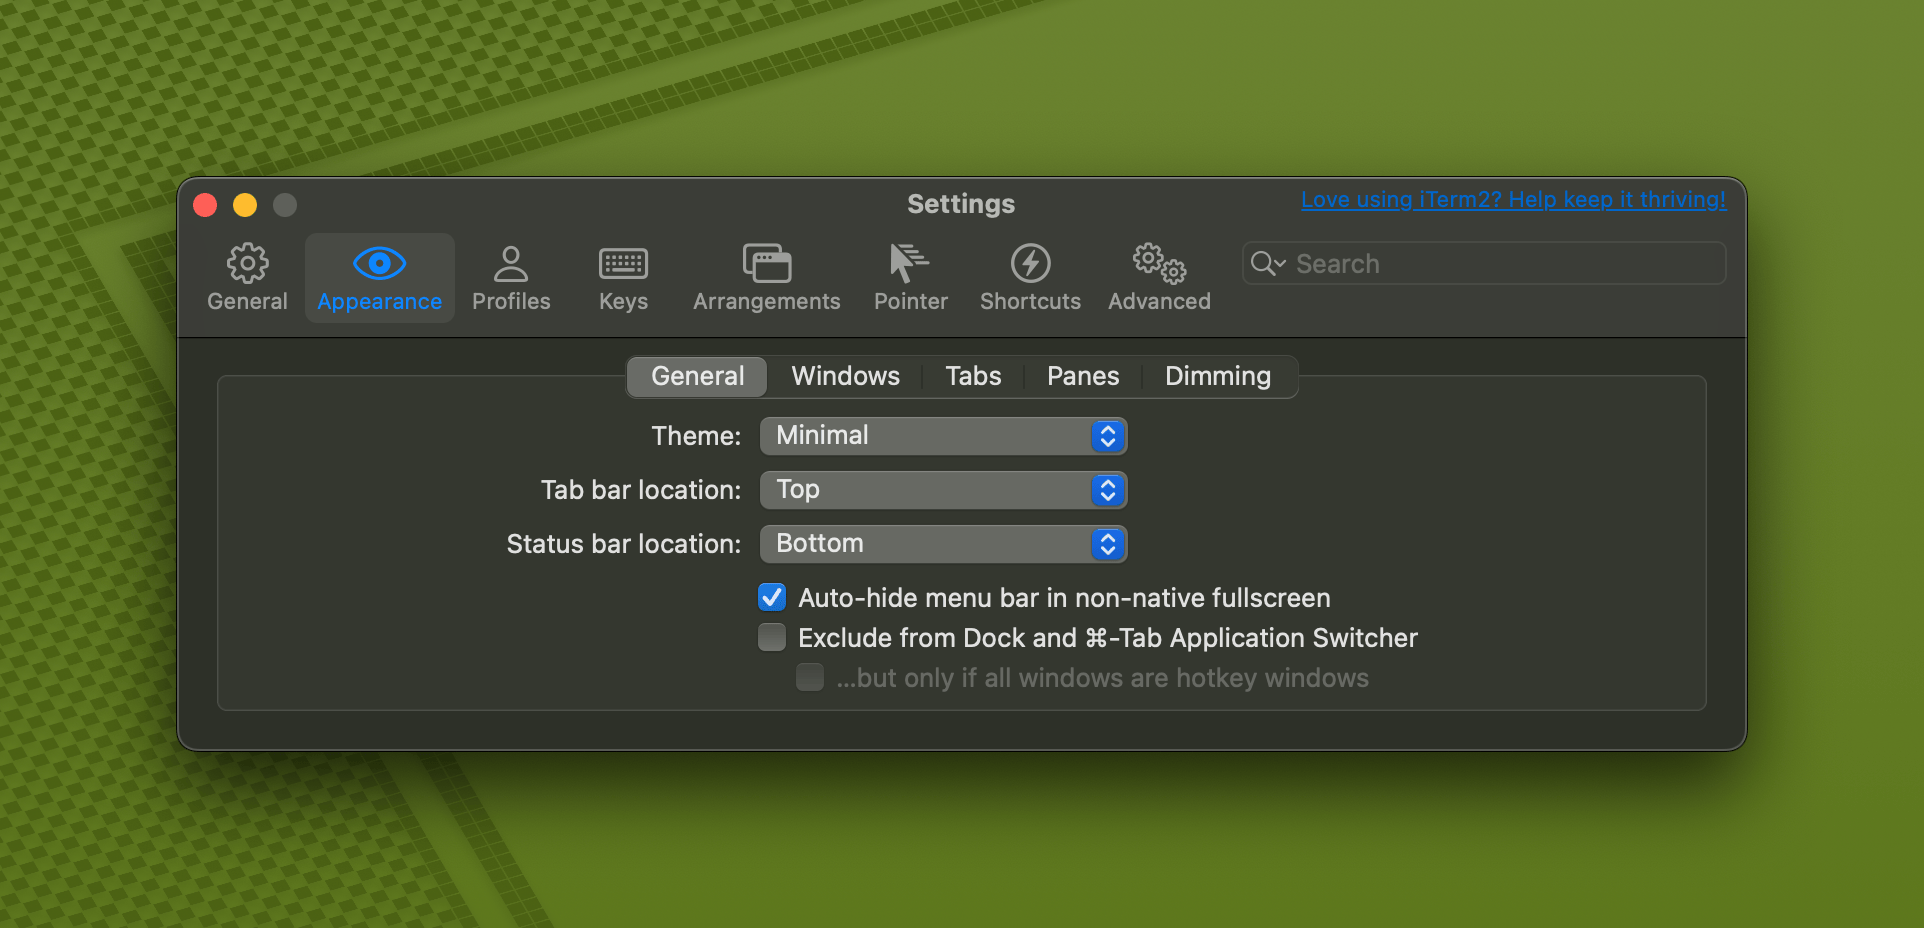
在 Apperance -> General 中将 Theme 改为 Minimal,Status Bar 的位置改为 Bottom

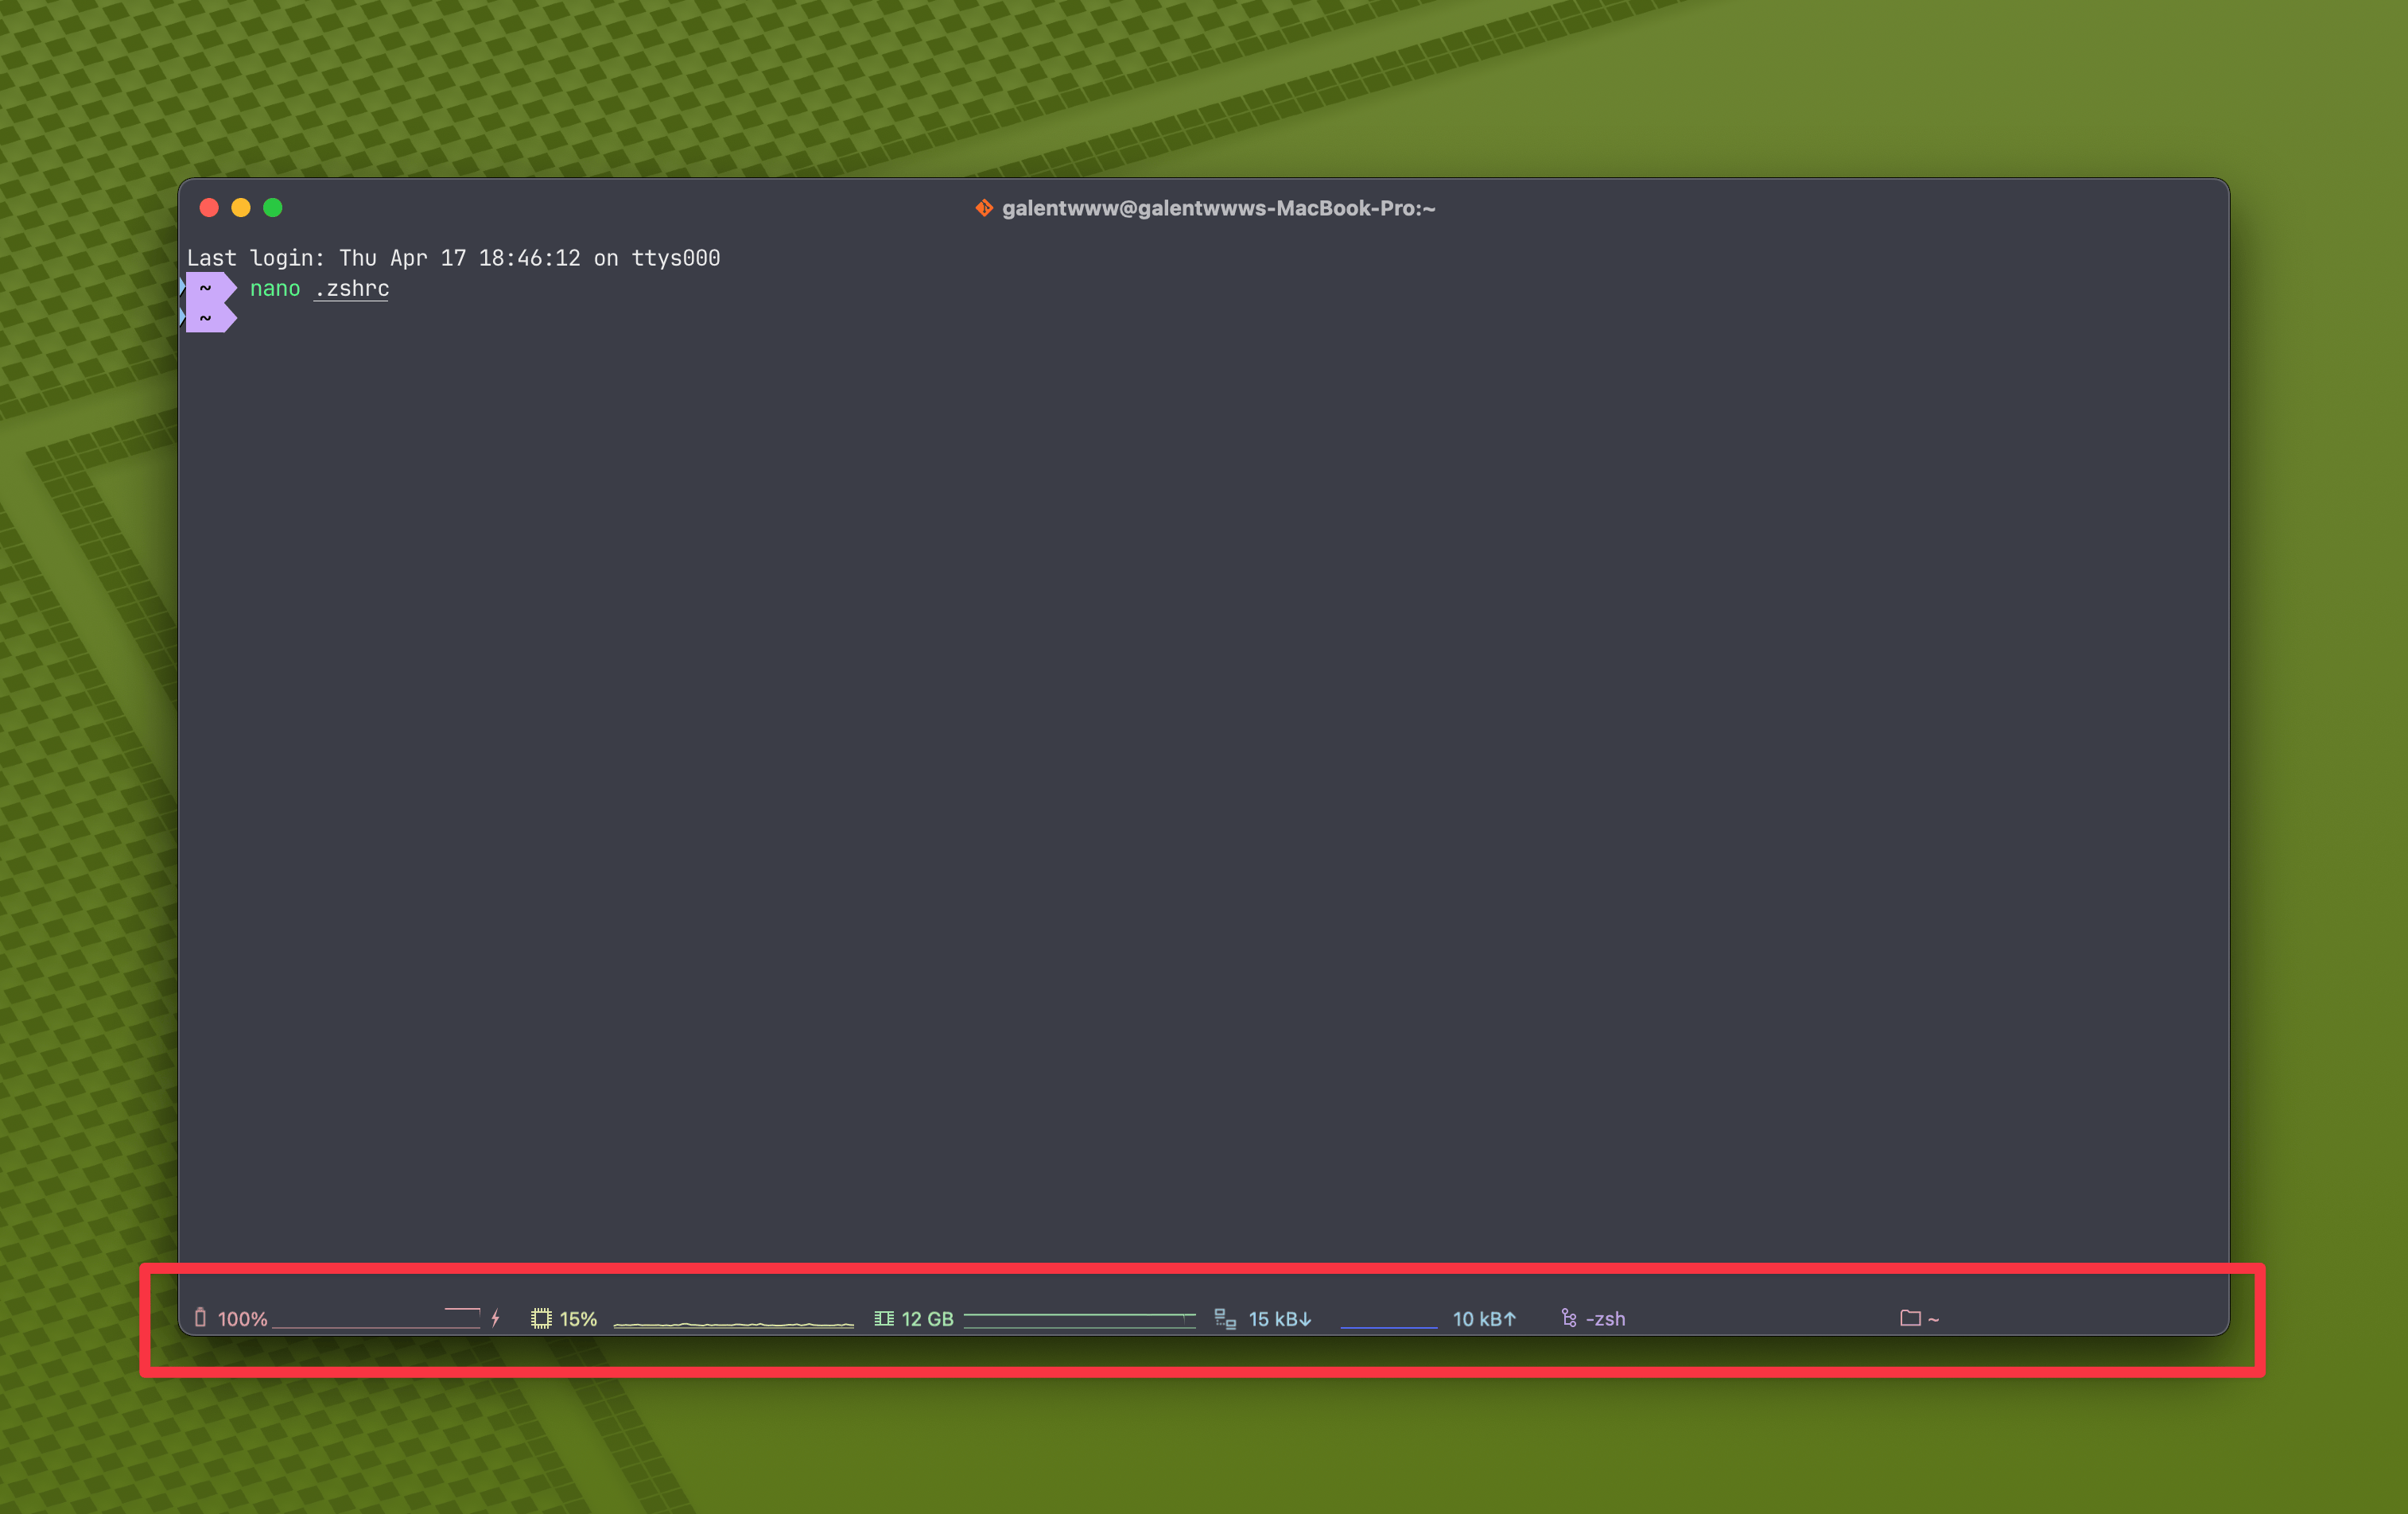
随后在 Profiles -> Session 中开启 Status Bar,并添加你想要的效果,就能得到显示信息的 Status Bar

隐藏设备主机名称
默认的 agnoster 主题无法自定义主机名,切换完主题之后在命令行最前方有一行
galentwww@galentwww-Macbook-Pro
有点长,也有点烦,之前使用 spaceship 主题时可以用主题自带的文档调整前面的主机名显示,如果使用 agnoster 的话就只能修改主题配置文件来达到同样的效果,首先
bash
进入主题文件夹。然后修改主题文件 agnoster.zsh-theme 将其中的 prompt_context 注释掉,随后 source /.zshrc 刷新即可隐藏主机名
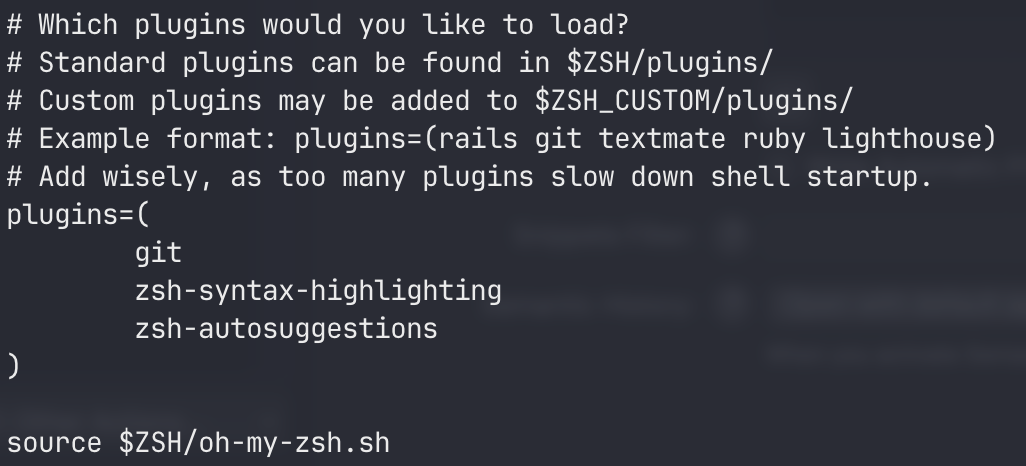
安装插件
我只安装了代码语法高亮、自动补全和自动切换工作目录的插件。
代码语法高亮、自动补全
这个插件会让你的有效命令变成绿色,以及对应的代码高亮
bash
将 zsh-syntax-highlighting 加到 plugins 的 git 后随后 source /.zshrc 刷新即可。

代码自动补全原理同上,安装方式为:
bash
自动切换工作目录
这个插件非常实用,对于我们曾经去过的目录,只要按下 j 再加上目录的前几个字母,就能直接前往,非常方便.
它可以快速定位到目录或者文件,其实现的基本原理是由于 autojump 维护了一个目录访问历史表,如果出现目录名同名的情况,autojump 会根据不同目录的访问频率来设置对应的权重,权重高的优先进入。

使用 brew 安装即可,非常方便:
bash
随后根据指示将 [ -f $HOMEBREW_PREFIX/etc/profile.d/autojump.sh ] && . $HOMEBREW_PREFIX/etc/profile.d/autojump.sh 这句粘贴到你的 .zshrc 文件中,随后执行 source /.zshrc 刷新即可。
配置 lrzsz
连接到远程服务器时难免上传下载某些个小文件,lrzsz 是最方便的选择,可惜 iTerm2 并不自带,我们需要手动安装
安装 lrzsz
首先是安装 lrzsz 本身,只需要
bash
毕竟 lrzsz 的原理还是遇到特殊指令,触发对应的操作(执行本地命令),所以还要准备对应的操作内容:
将这两个文件放到 /usr/local/bin 中,也可以直接下载到这个目录,没有 wget 的先 brew install wget
bash
特别的:如果是 M 系列处理器,brew 安装的 lrzsz 是在 /opt/homebrew/ 中,需要修改这两个文件中的执行 rz 和 sz 的位置:
bash
bash
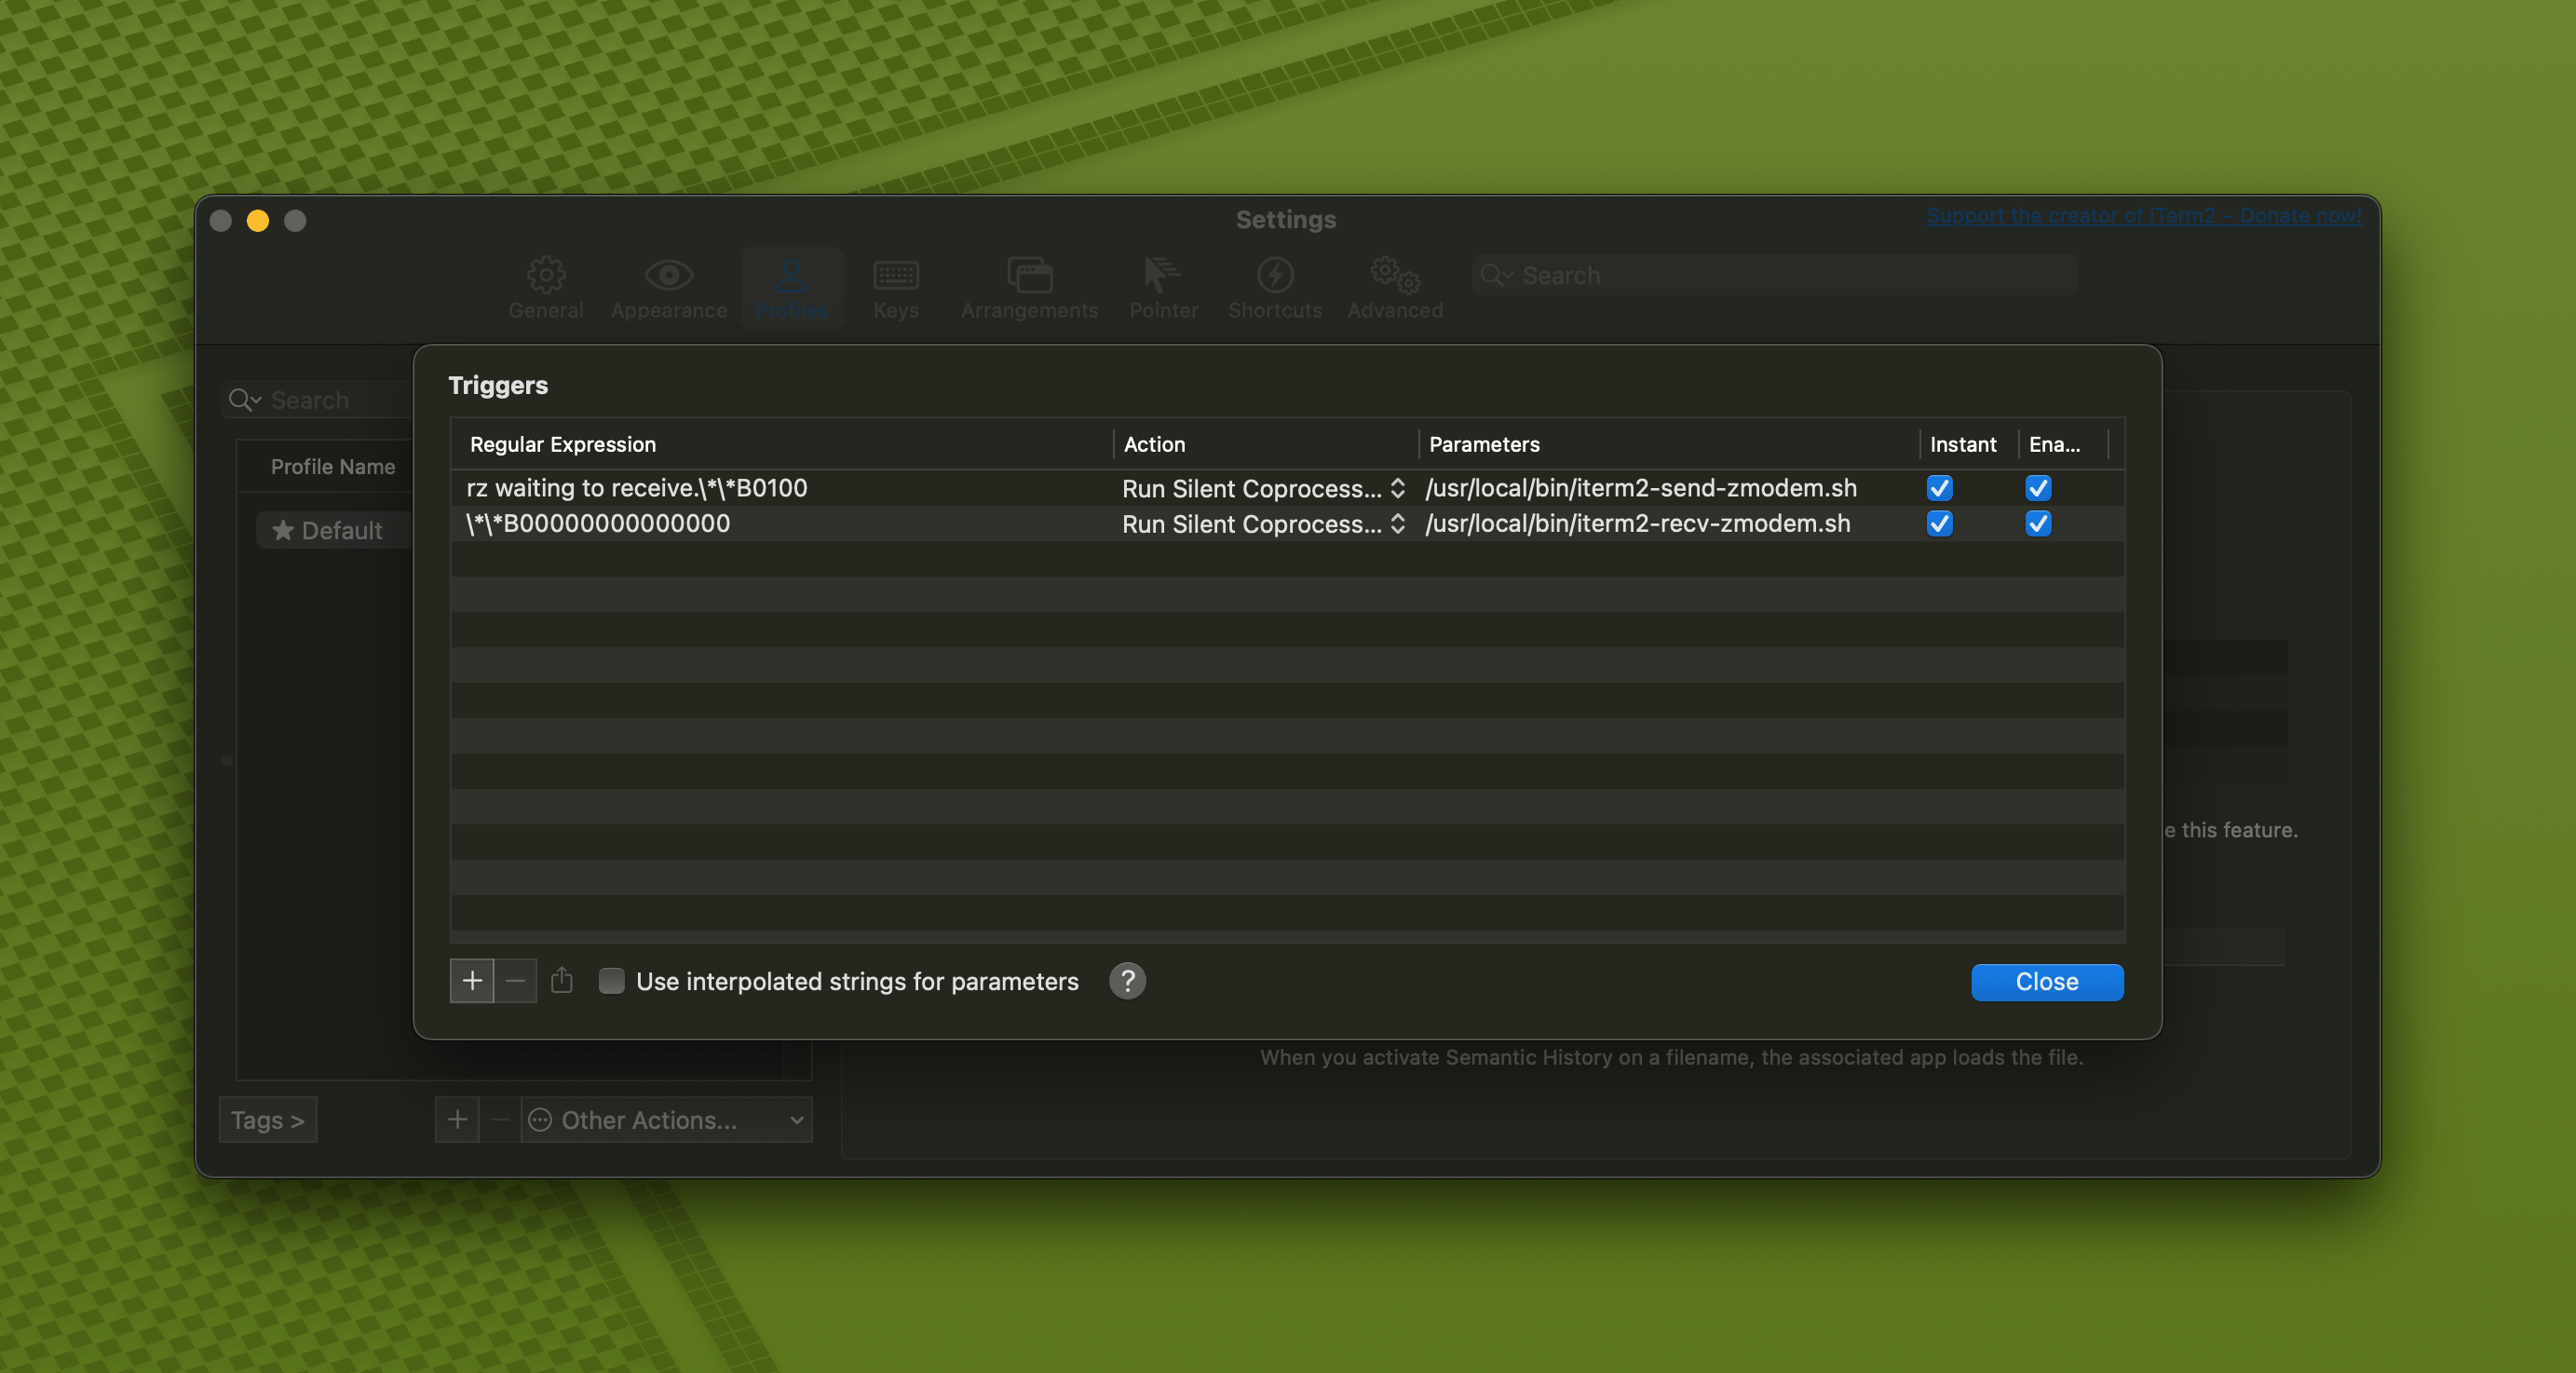
设置 iTerm2
在 Perference-> Profiles -> Advanced -> Triggers 的 Edit 按钮,加入以下配置
Regular expression: rz waiting to receive.\*\*B0100
Action: Run Silent Coprocess
Parameters: /usr/local/bin/iterm2-send-zmodem.sh
Instant: checked

Regular expression: \*\*B00000000000000
Action: Run Silent Coprocess
Parameters: /usr/local/bin/iterm2-recv-zmodem.sh
Instant: checked
添加两条 trigger,分别设置 Regular expression,Action,Parameters,Instant 如下

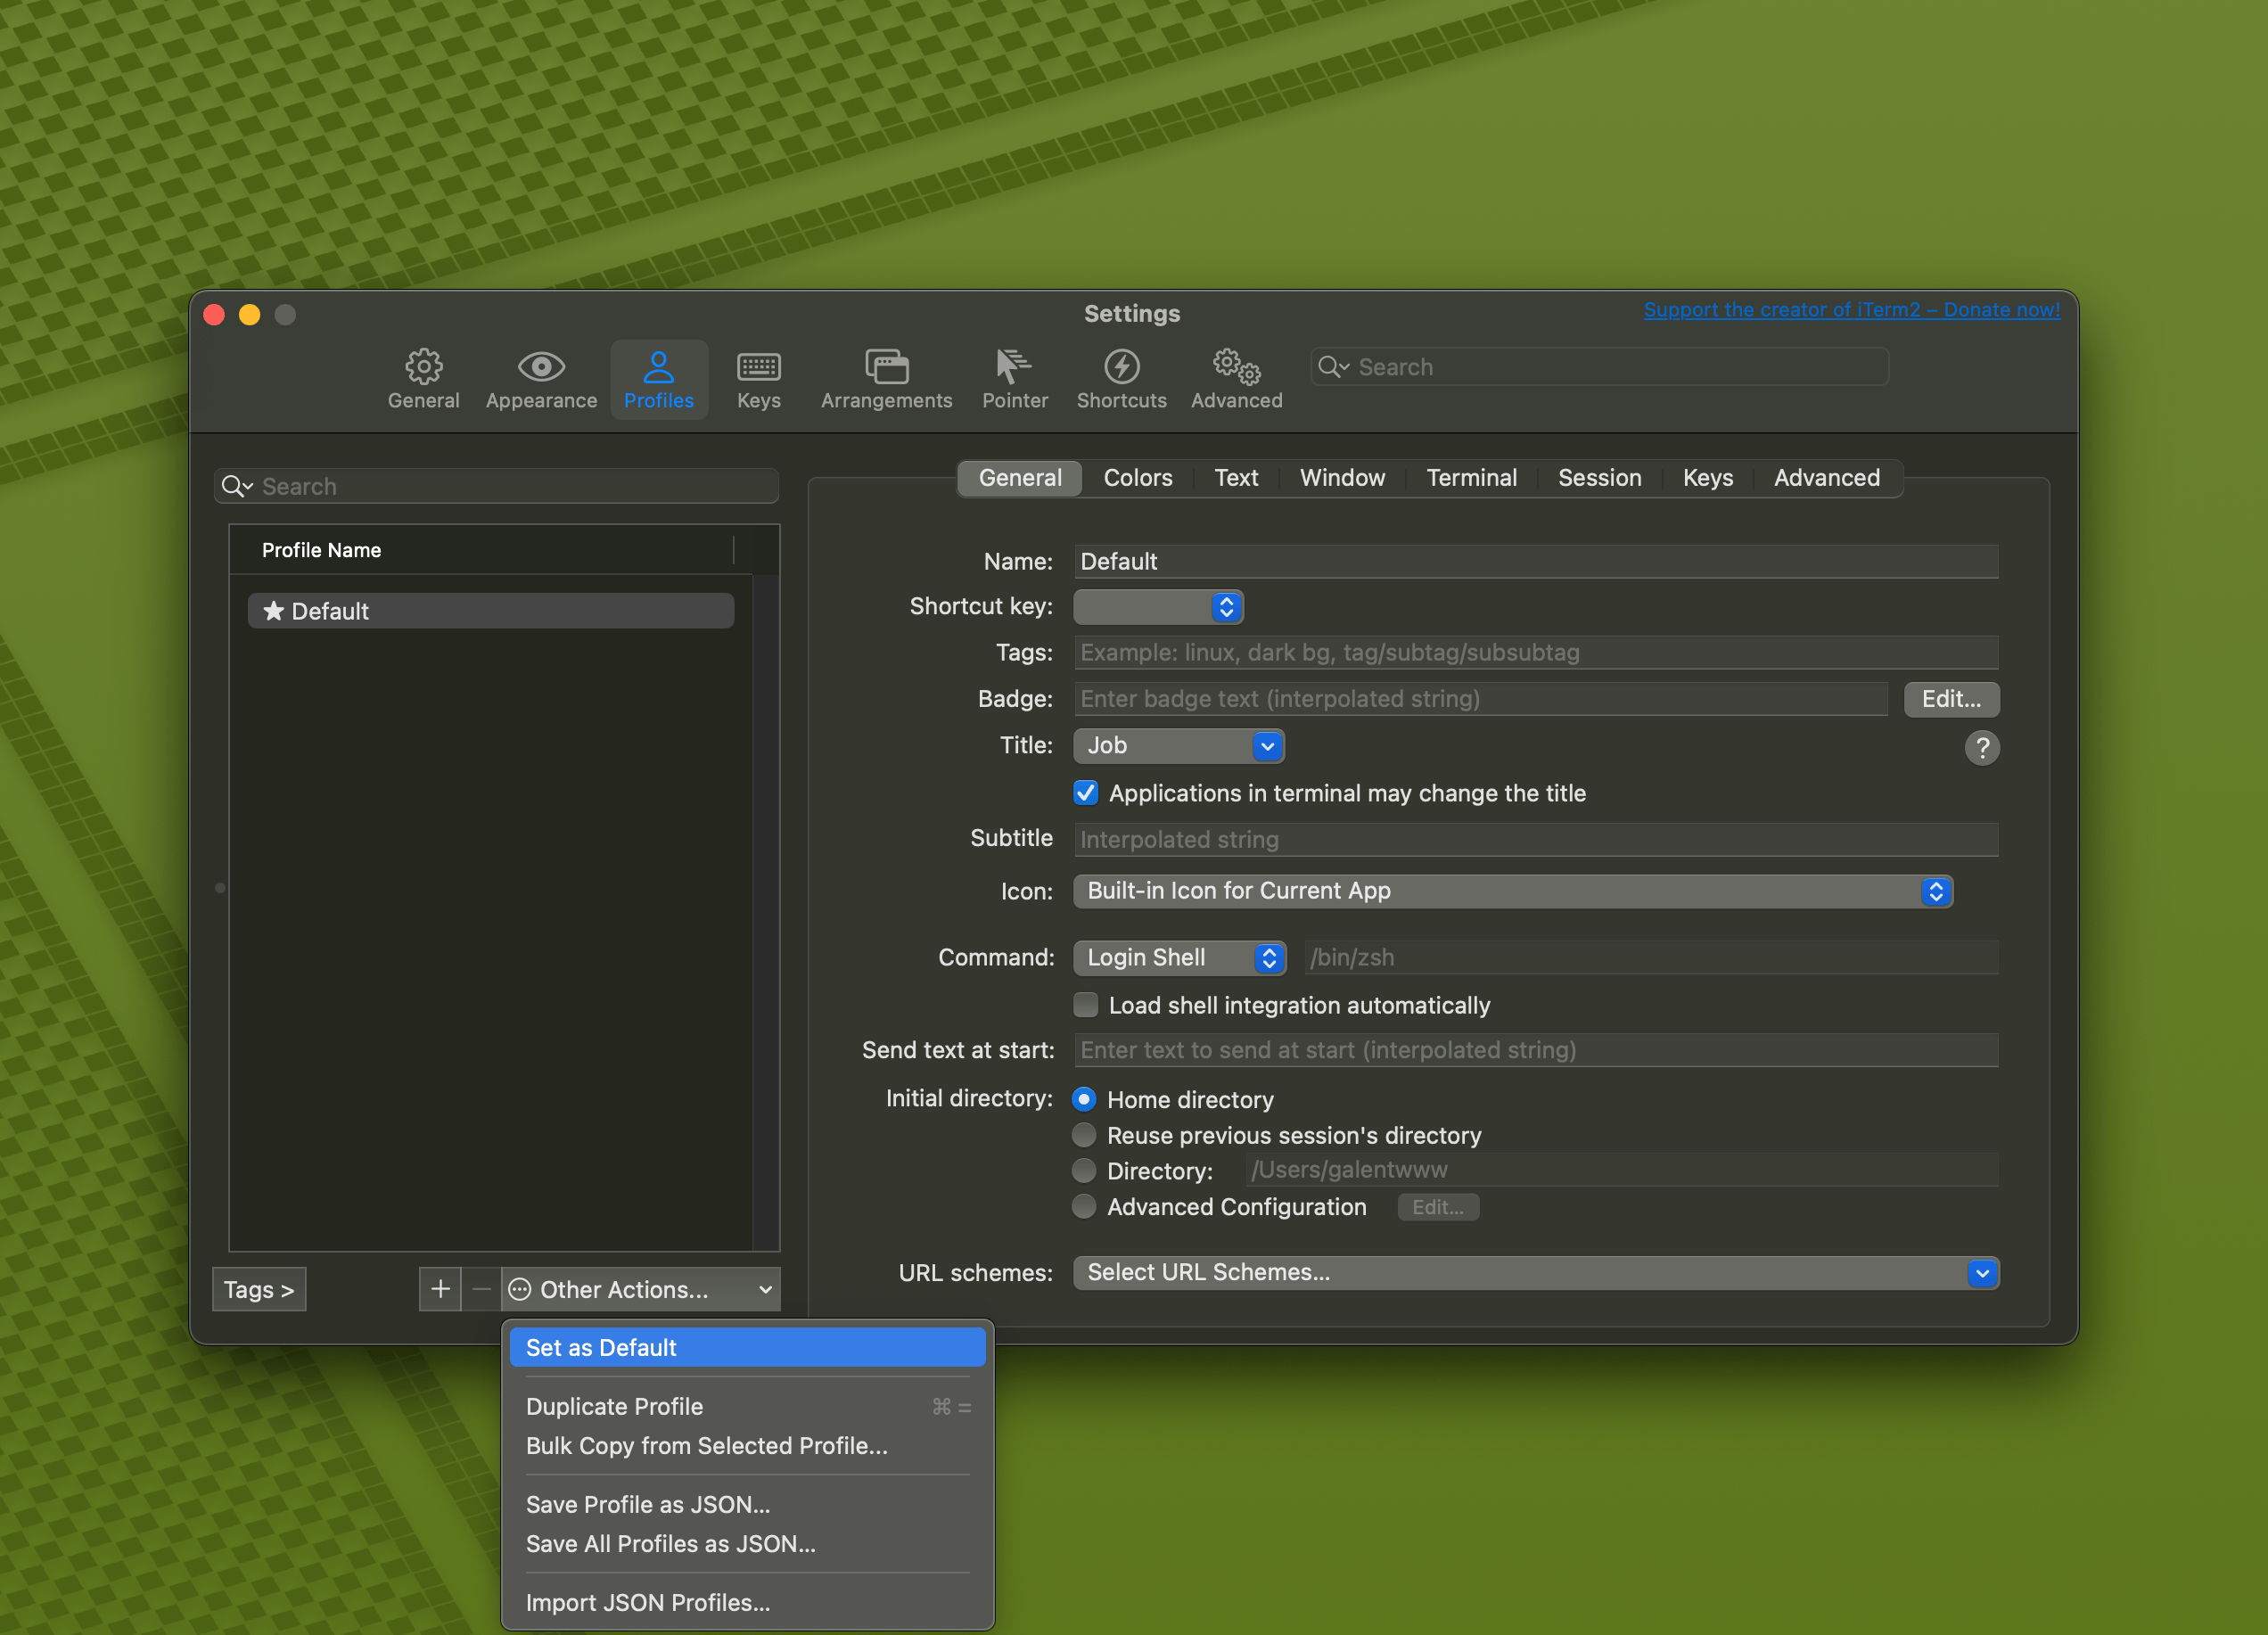
备份
为了下次更快的恢复这一堆设置,记得导出一个 json 文件,在 Profiles -> Other Actions -> Save Profile as JSON 即可,导入当然也在这里。